Guide to DIY Wall Cladding – Manufactured Stone
Wall cladding has become very popular not just for new builds but with home improvement projects. Cladding is a beautiful and versatile product that can be used indoors or outdoors. The range of cladding has increased with its popularity and have become easier to install which makes it great for DIY projects.
Types of Cladding
There are 3 main types of cladding –
• Man-Made
• Natural Stone
• Stoneware Tiles

Types of Installation
There are 2 main types of installation –
• Dry joint / Dry stacked
• Mortar / Grout joint
Dry joint is a popular choice when your wall cladding stone is used for any walling or decorative use. Mortar / grout joint is mainly used when you cladding has been laid as a paving options, for example like pathways.
Stone Options
• Loose Stone
• Netted Stone
What you will need
• Cladding product
• Gloves
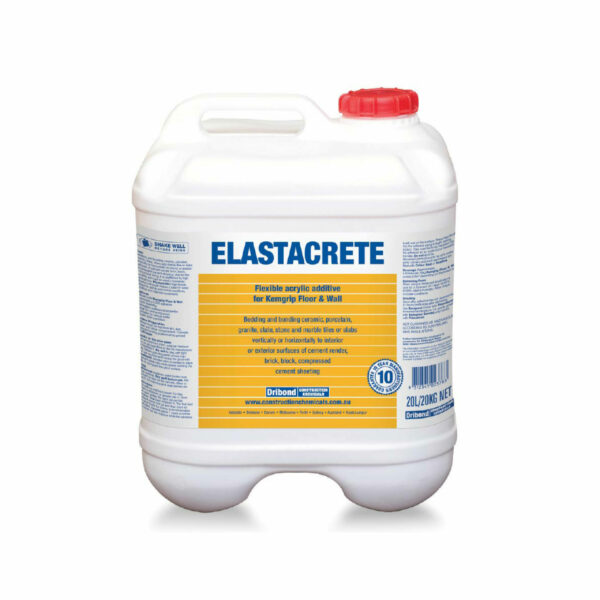
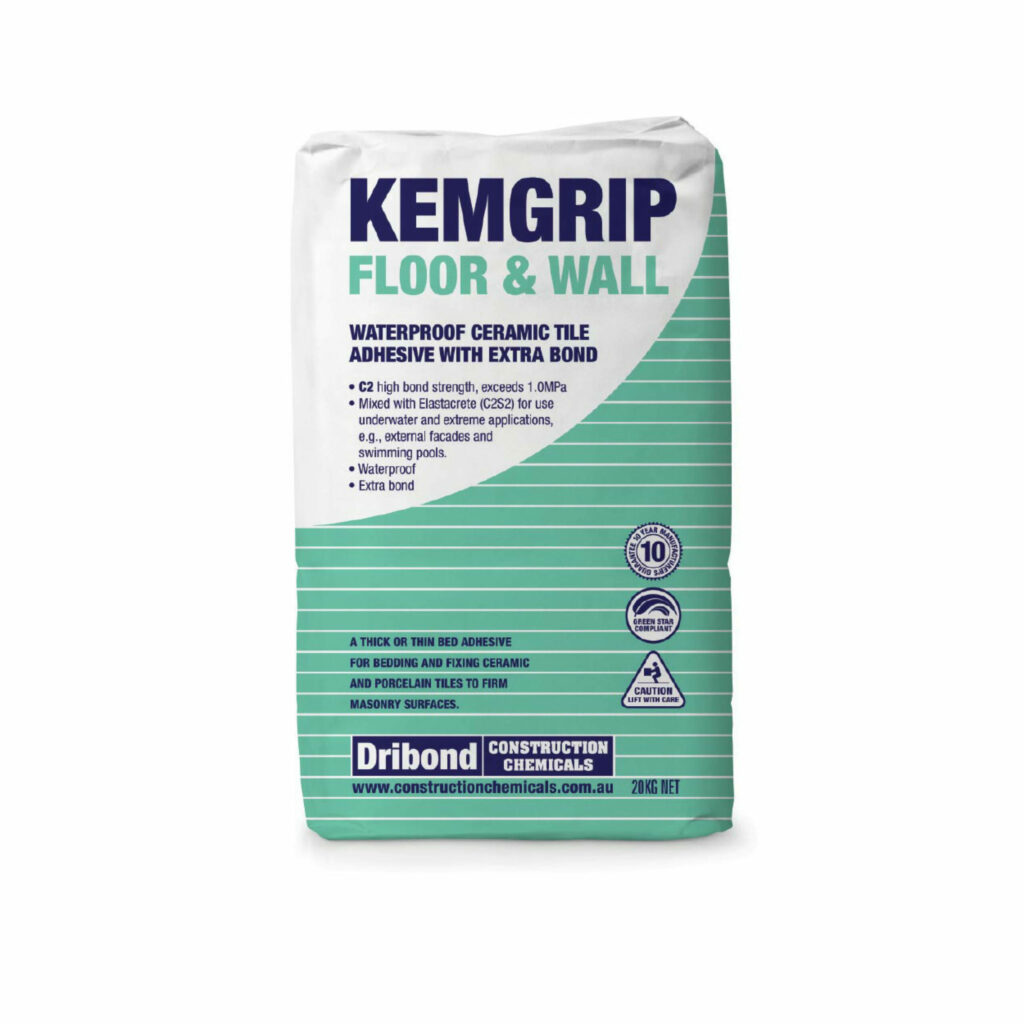
• Kemgrip and Elastacrete adhesives
• Bucket and Mixing trowel
• Piping bag for grout
• Sponge for cleaning
Before you start
• Always wear eye protection when cutting cladding pieces
• Wear a mask when mixing adhesives
• Bend your knees when lifting heavy pieces
• Wear work boots to protect your feet and gloves to protect your hands
• Slip, slop, slap if you are working in the sun and keep your fluids up
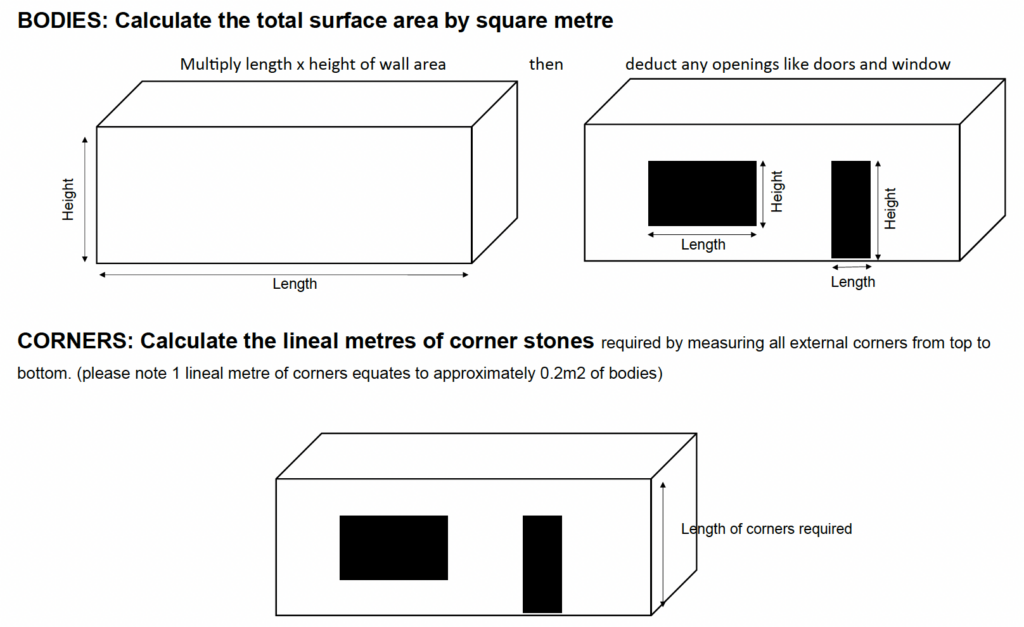
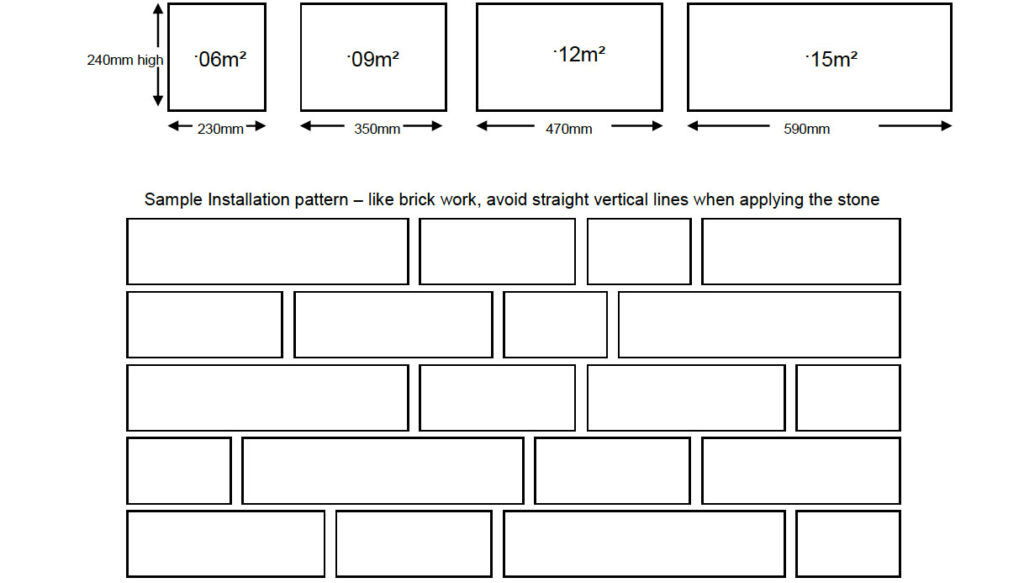
Estimating Cladding Required
When installing with dry joints (dry stacked), add an extra 10-15% to allow for extra cuts and wastage.
Adhesives
We recommend using our Kemgrip Floor and Wall with Elastacrete additive.
Add Elastacrete instead of water with your Kemgrip to make an adhesive that has flexibility, strength, improved bond strength and is chemical resistant.


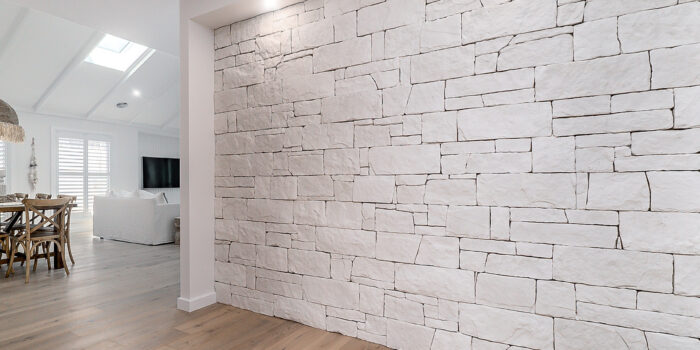
Dry Joint / Dry Stacked Installation
If installing with dry joints, please ensure either the wall or the adhesive are a dark colour before starting. This can be done by purchasing our Kemgrip and Elastacrete products and tinting with a black oxide. This will help cast a shadow between the stones, giving a solid dry stone look.
*Tip – for best results, install this product ‘free form’ by pulling stones off the webbing / netting and laying random.
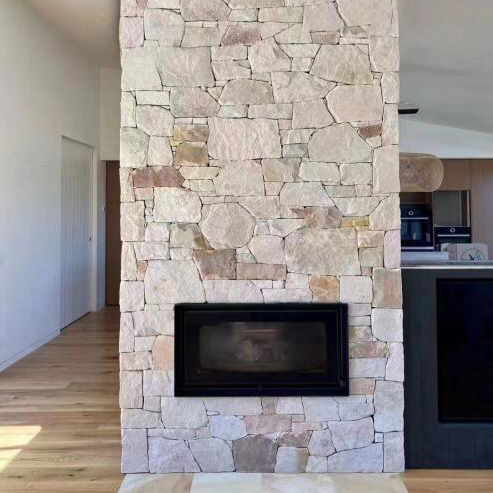
Mortar / Grout Joint Installation
Install with an 8-12mm mortar /grout joint using timber or plastic dowels / wedges to keep the joints evenly spaced. Due to the nature of the product, stones will vary in size and may need extra wedges to allow for height variation.
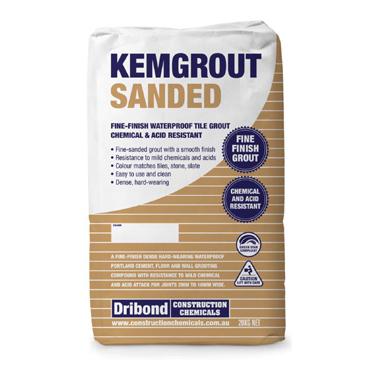
Sand and cement pointing mortar or tile grout can be used to fill the joints.
*Tip – one of the easiest and fastest ways to fill the joints is by using a piping bag.

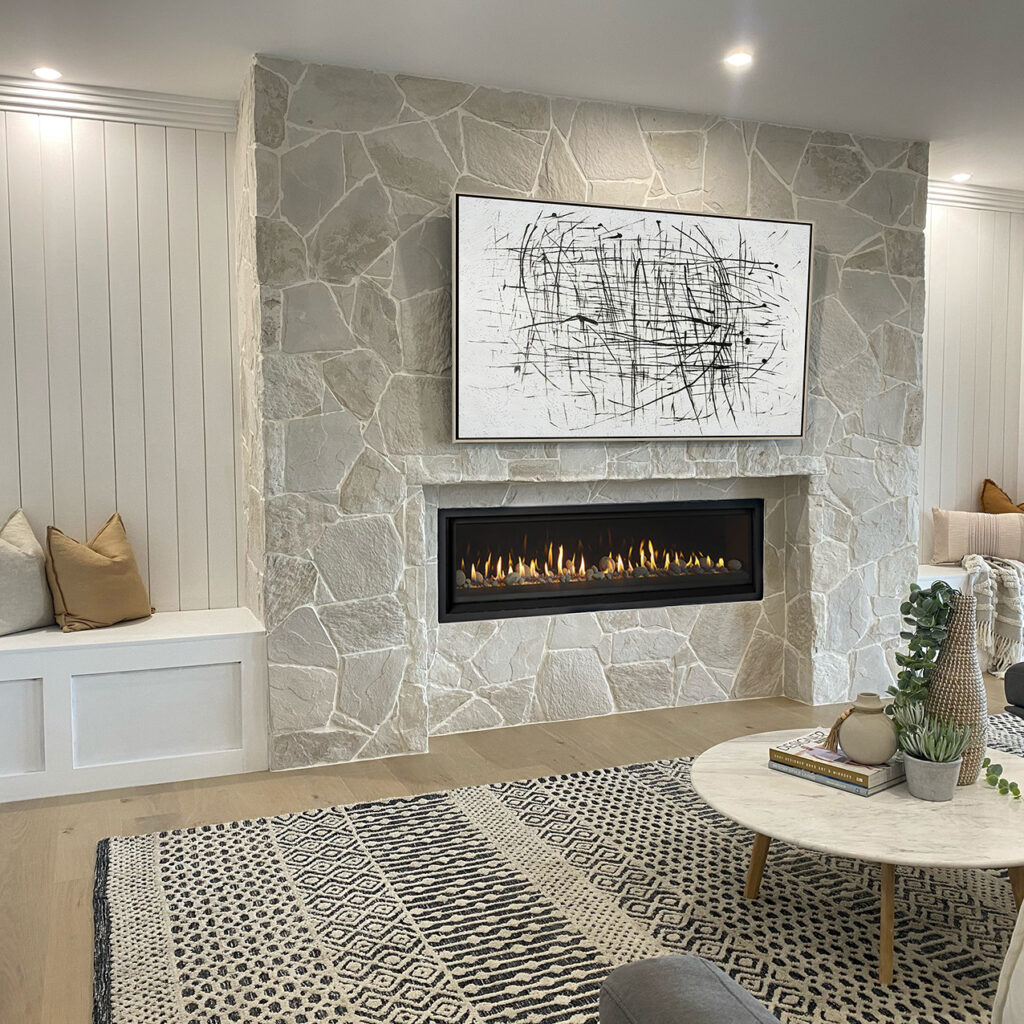
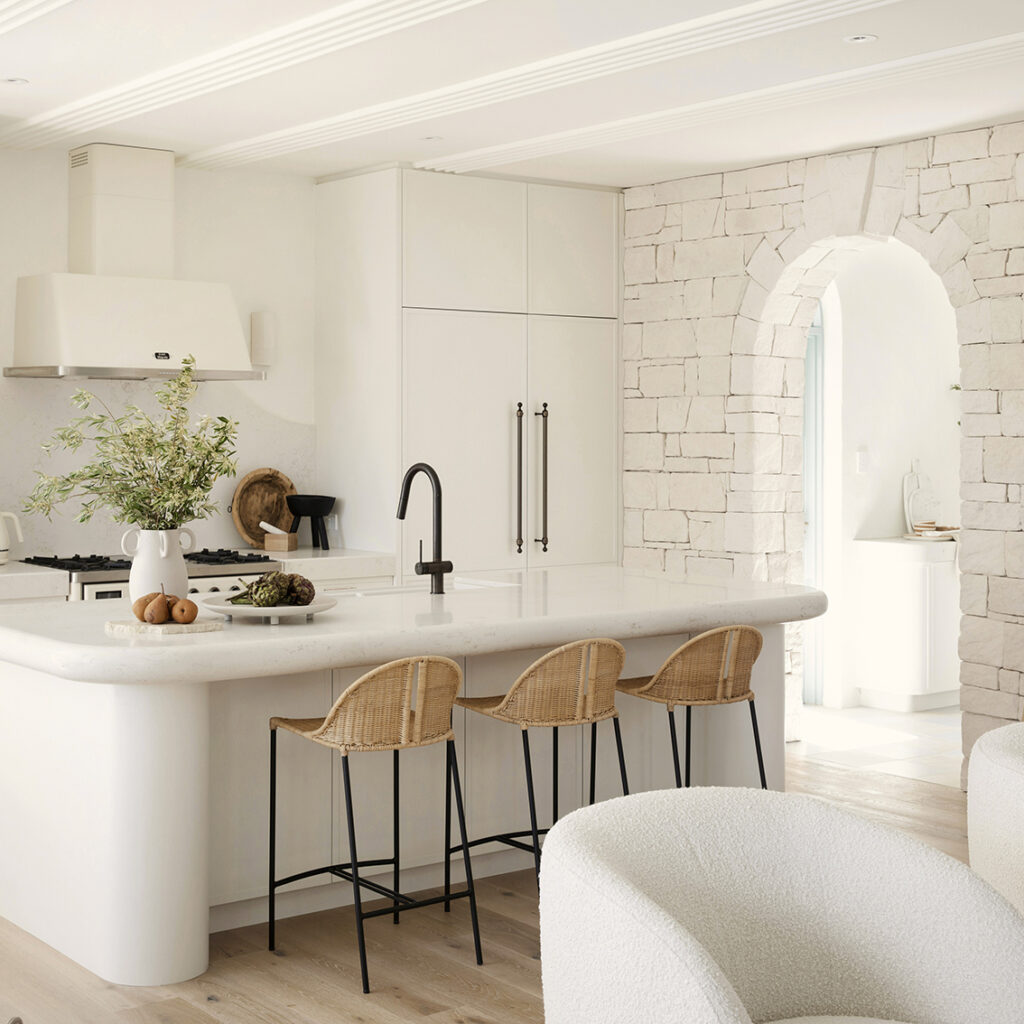
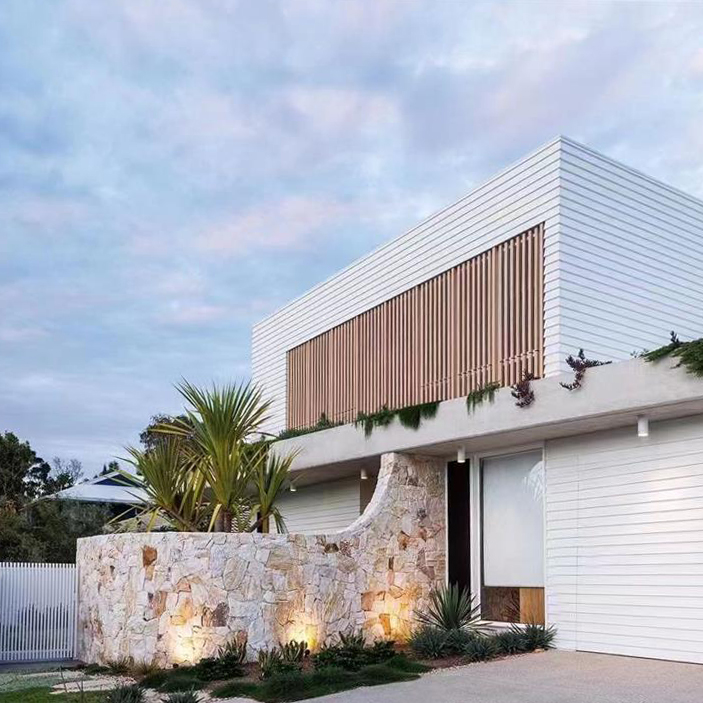
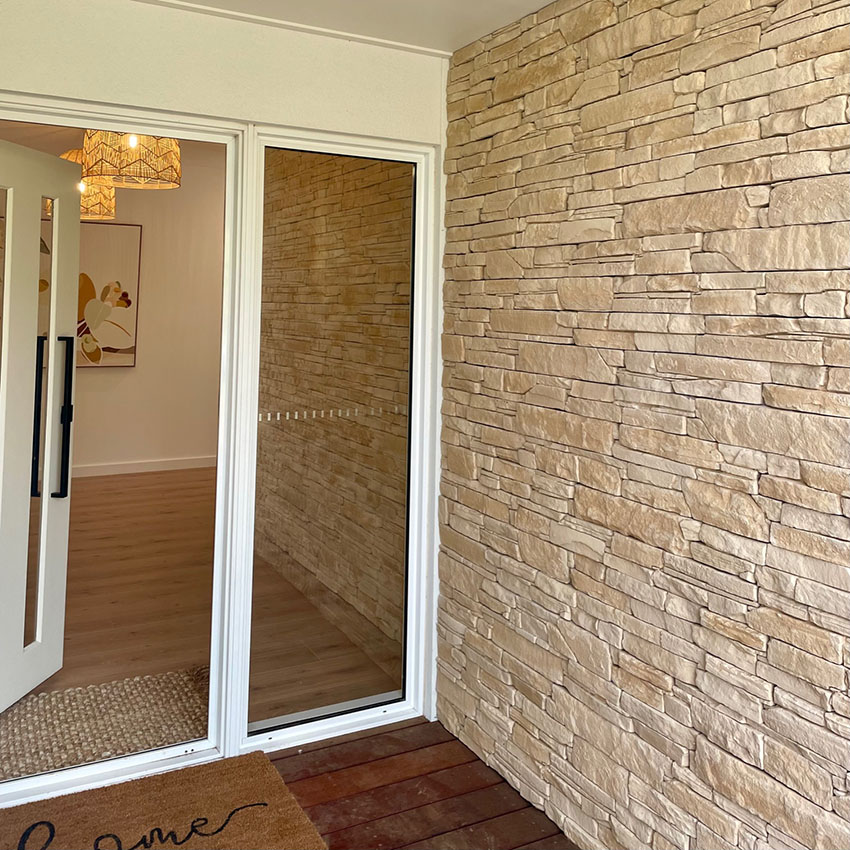
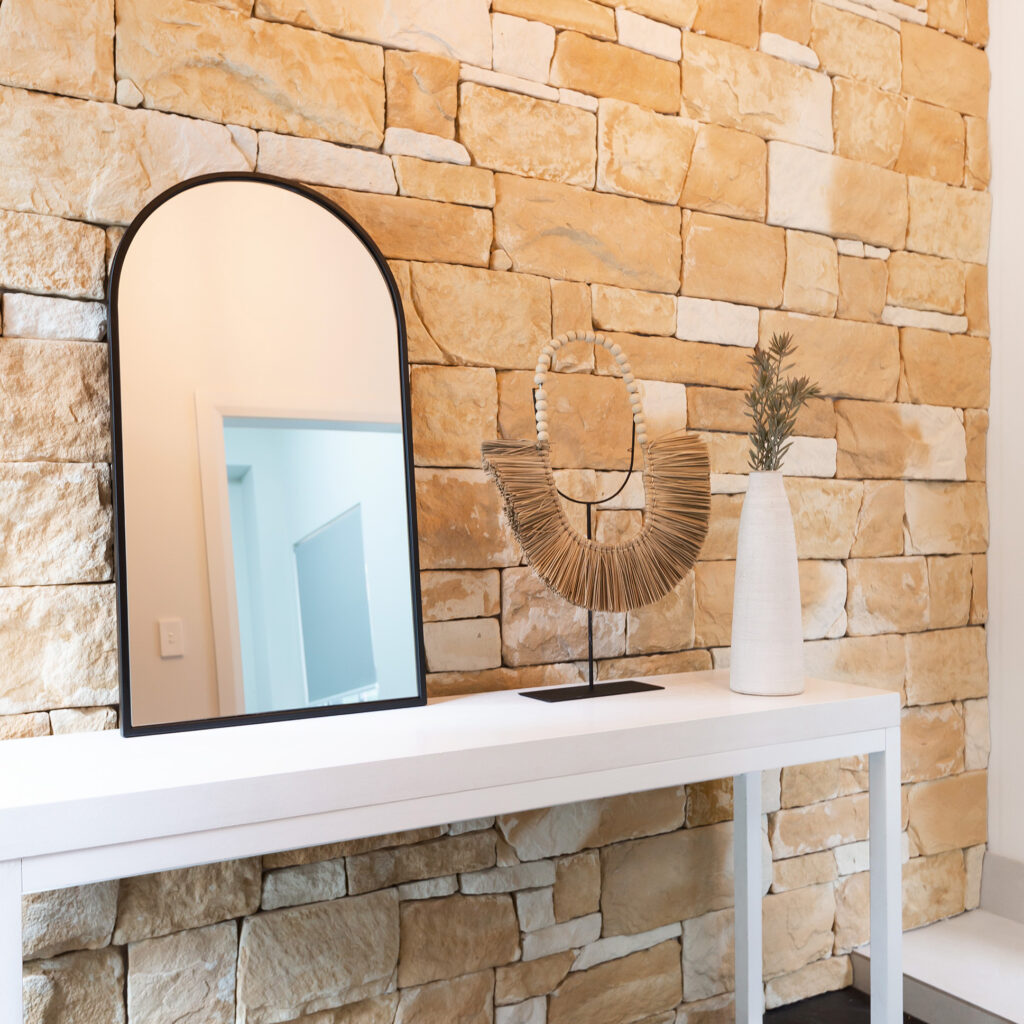
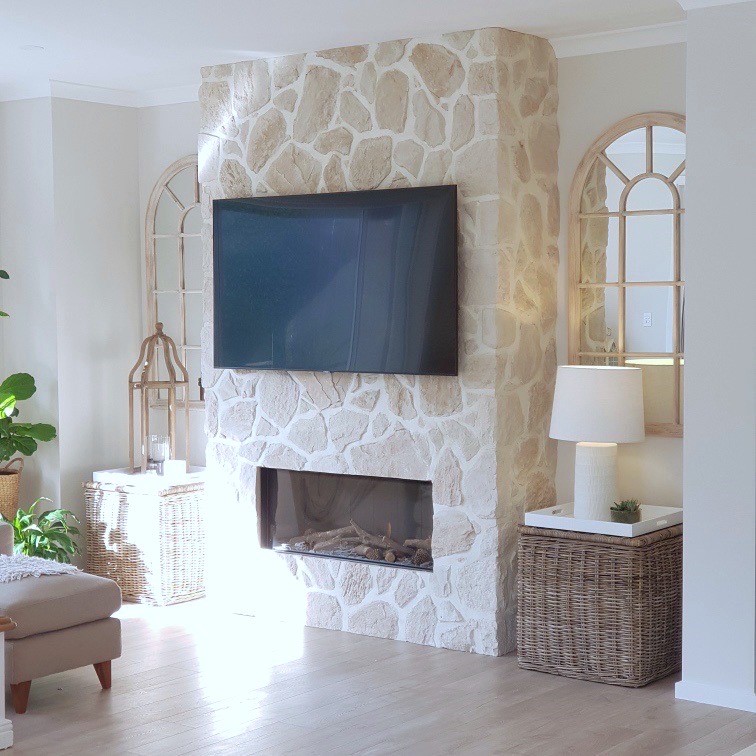
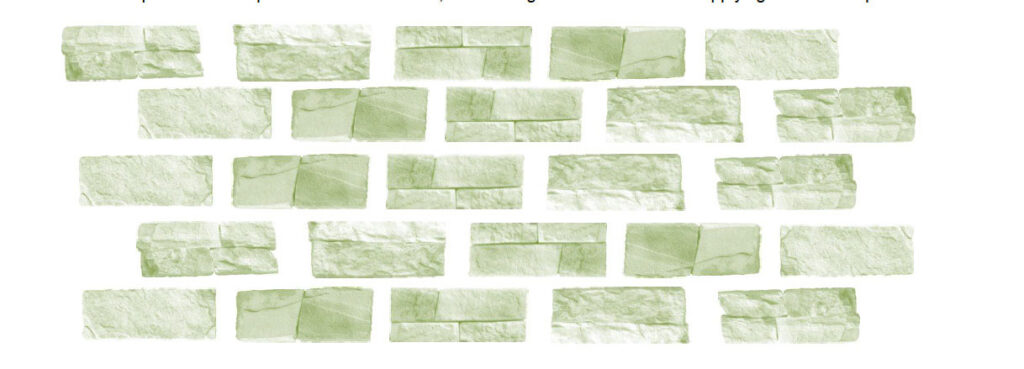
Examples of Dry Joint / Dry Stacked
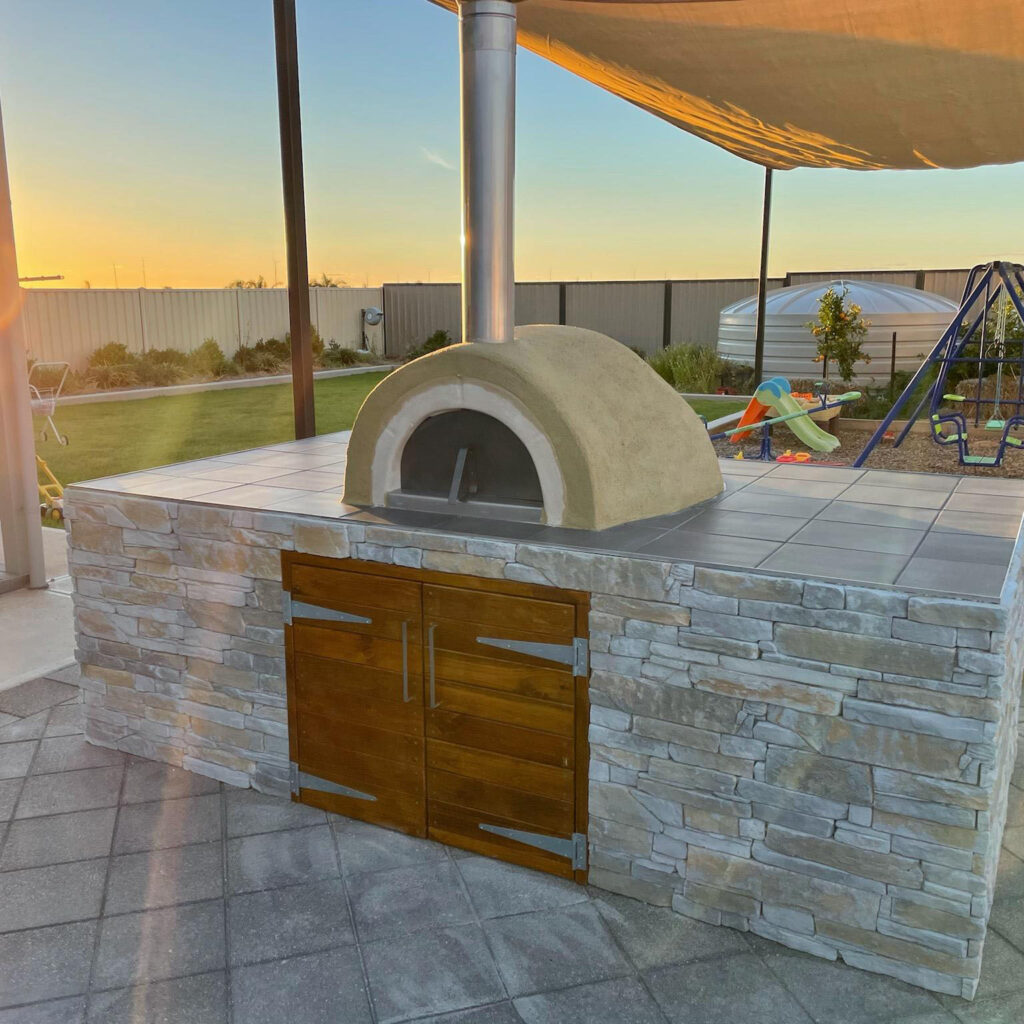
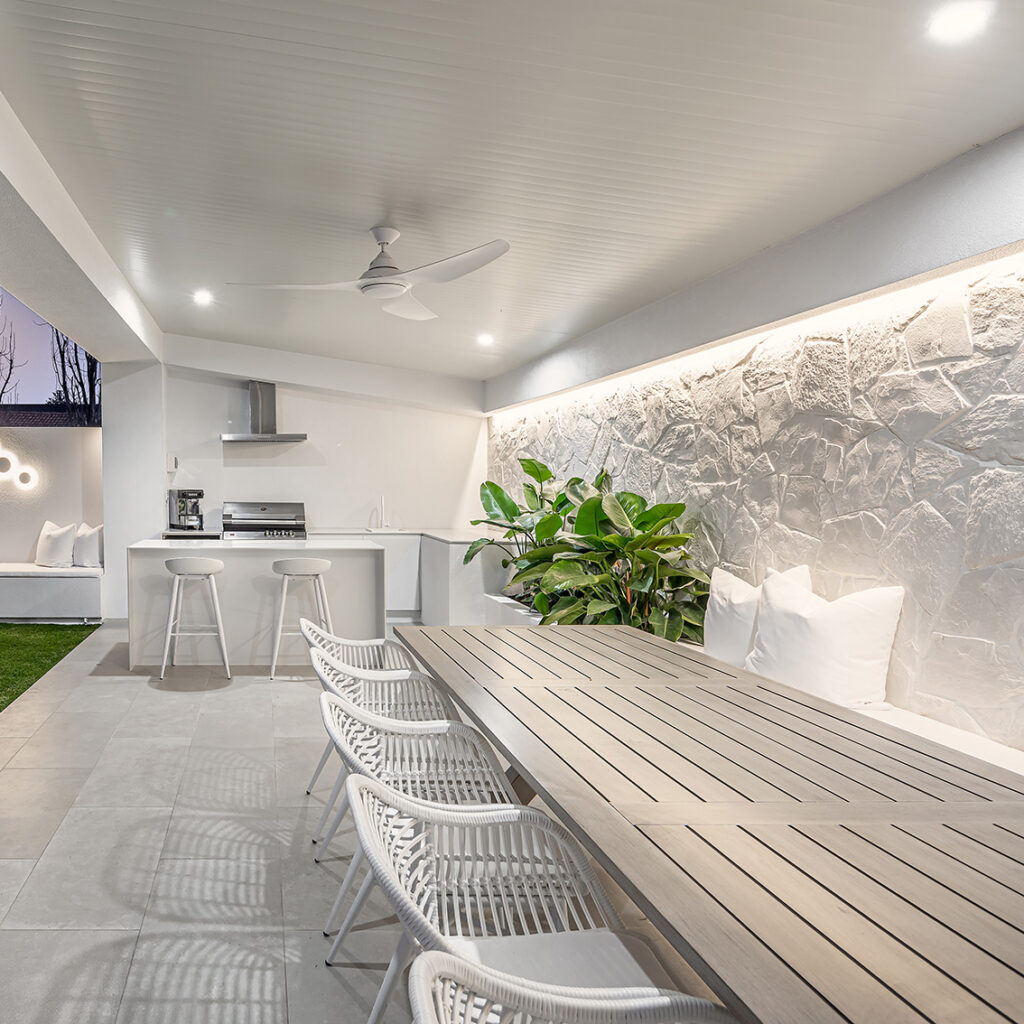
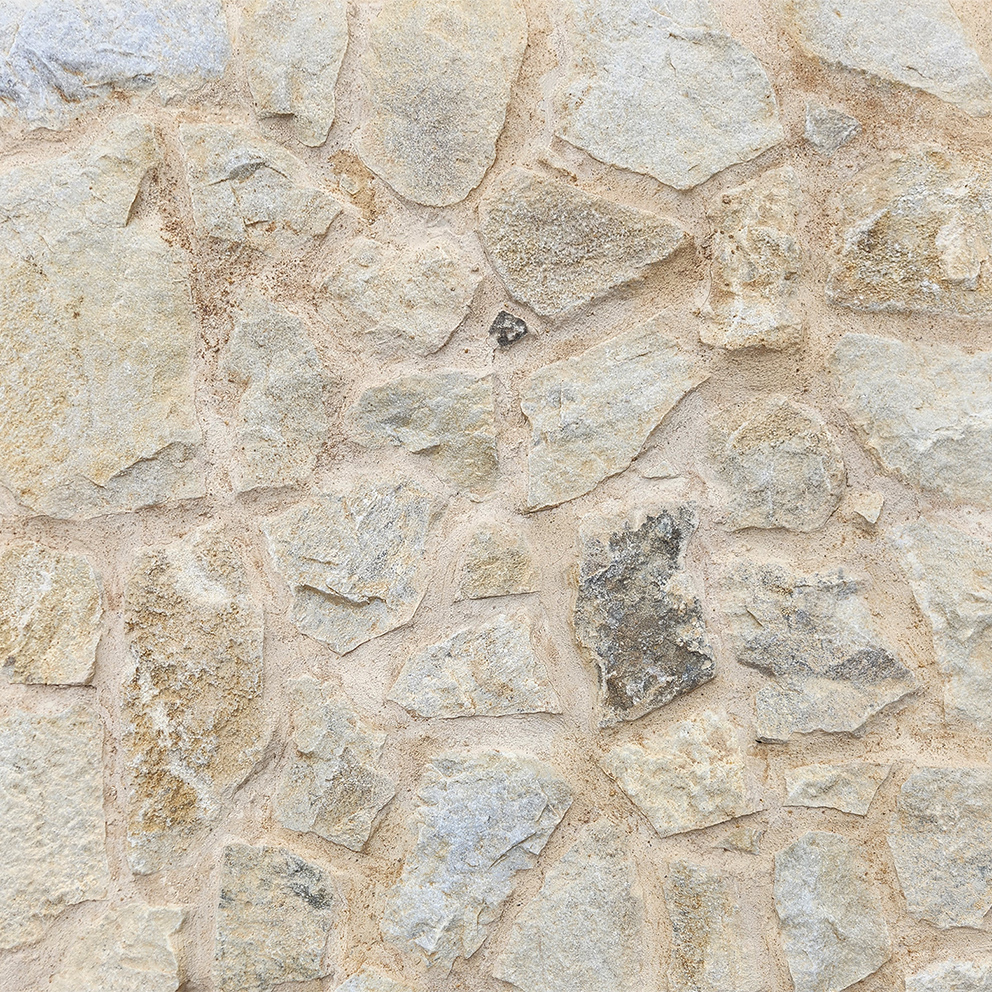
Examples of Mortar / Grout Joint
TIPS
Firstly, not all walls are suitable for cladding. Structure wall needs to be suitable for the project. Please ensure your wall is able to take the weight.
If your application requires corners, apply these first, alternating the long and short return in opposite directions.
• Cut or trim stones using a wet saw or angle grinder with a diamond blade attached.
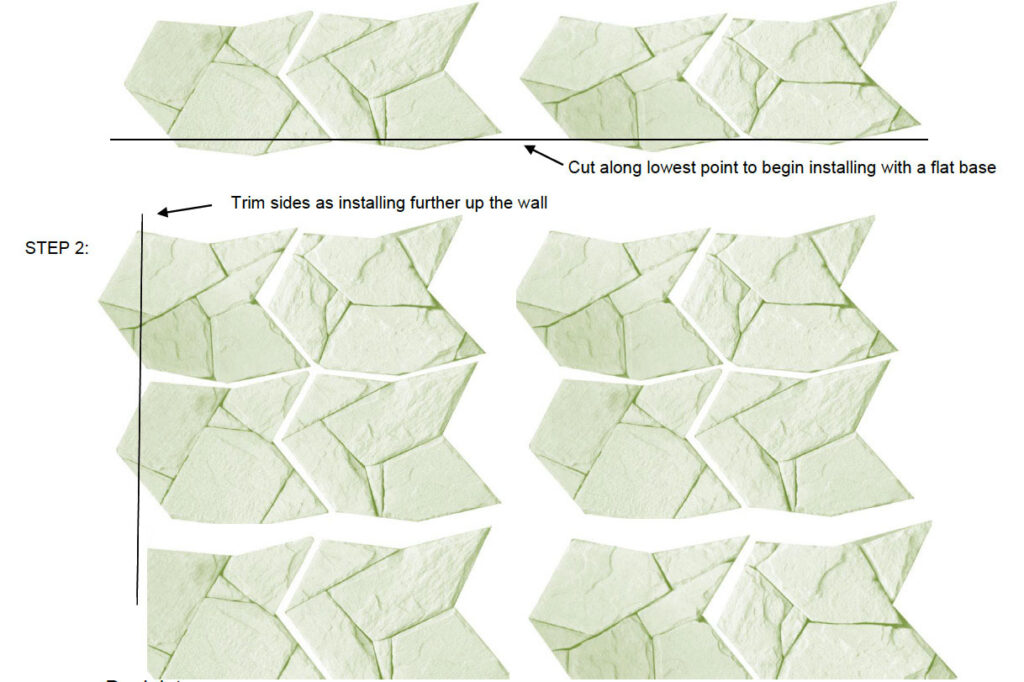
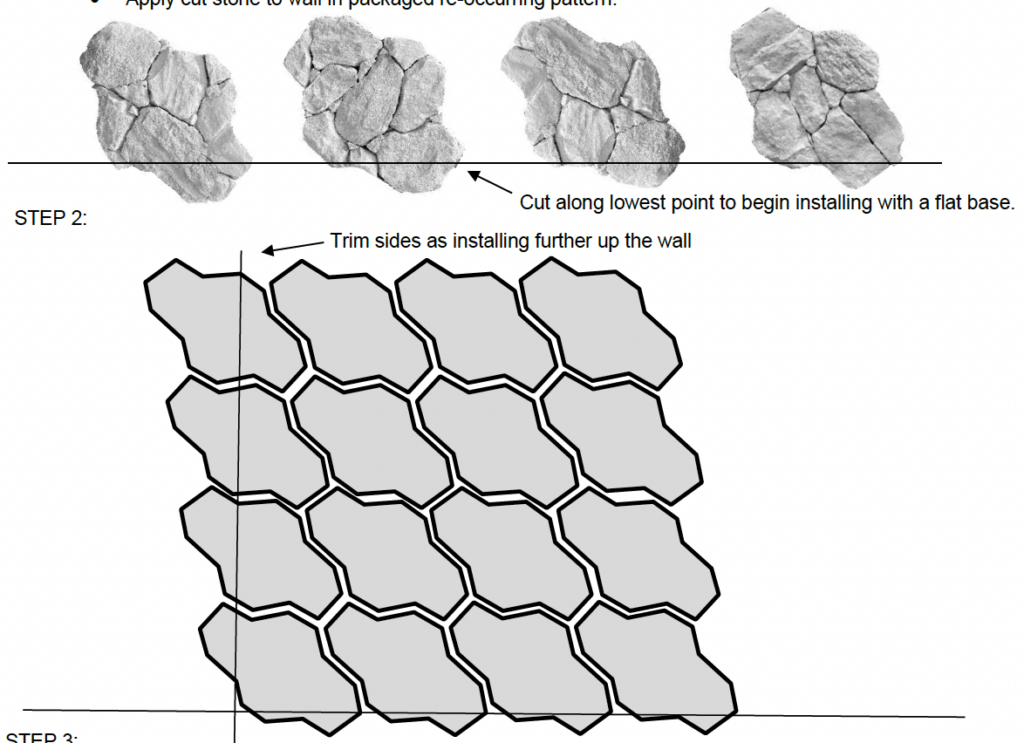
• Lay 1st layer of product at the base of the wall in packaged re-occurring pattern.
• Draw a straight line across the 1st layer of stones then cut.
• Cut along lowest point to begin installing with a flat base.
• Apply cut stone to wall in packaged re-occurring pattern.
• Trim sides as you install further up the wall.
Please note that the pattern WILL NOT line up to the millimetre, you will need off cuts and thin cut stones to fill the voids between the stone, once the pattern has been laid. Take time once the pattern is laid to cut thin stones to fill small gaps between the larger joints. This is important to break up the pattern and provide the perfect hand-crafted stone appearance.
Cutting Examples

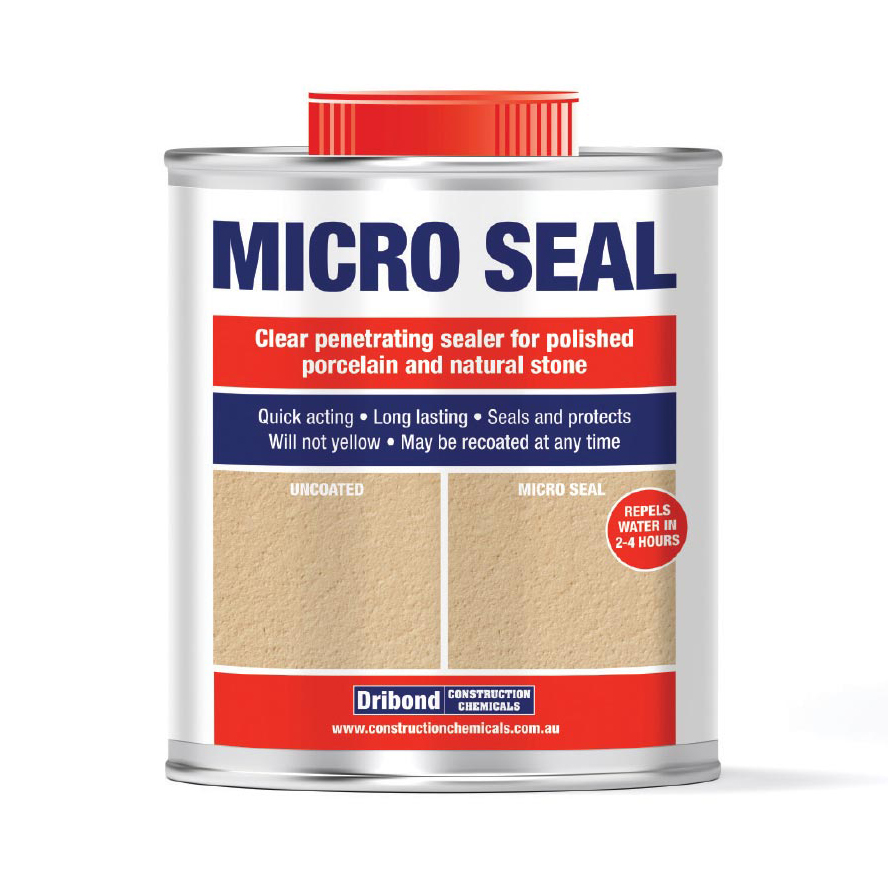
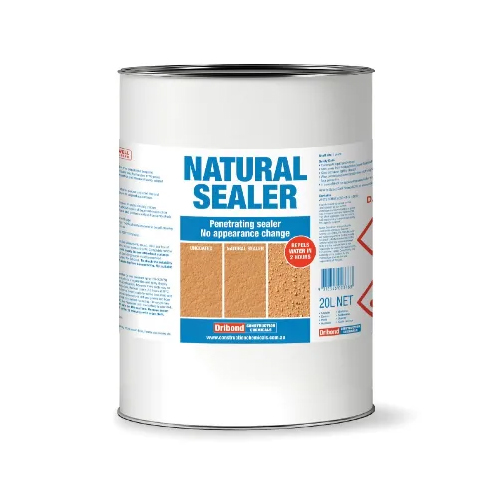
Sealing or Unsealed
Exposure to the outside climates will enhance the natural beauty of your stone cladding. Unsealed, the stone simply gets better with age, bringing the European look from years of weathering.
If you wish to retain the fresh quarried look and enhance the natural colours, seal the stone with a penetrating sealer, such as our Micro Seal or our Natural Sealer.
Request a Quote today!
Send us a product enquiry or request a quote online