A Complete Guide on How to Tile: Step-by-Step for DIY Beginners
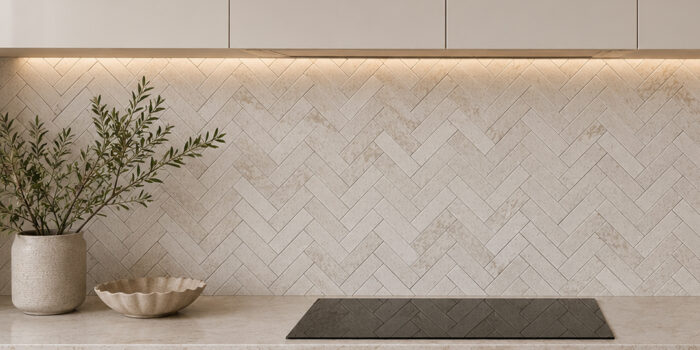
Tiling is a great way to refresh your home. Tiling is a simple way to update your kitchen splashback, bathroom, laundry or outdoor area and can change the way a space looks. Learning how to tile can save you money and provide a beautiful result.
DIY tiling might seem intimidating at first but the process becomes much easier when you break it down into manageable steps. Our guide will take you step by step through everything you need to know, from preparing the surface to applying the final grout.
What You’ll Need Before You Start
Make sure you have the right tools and material before you start.
- Tools & Materials You’ll Need
Tile cutter or wet saw
Notched trowel
Tile spacers
Spirit level
Tape measure
Pencil or marker
Grout float
Bucket
Sponge
Safety glasses and gloves
Tiles
Tile adhesive
Primer
Grout
Silicone sealant
Waterproof membrane (for wet areas such as bathrooms) - Safety First!
Before you start, remember to prioritise safety:
Eye protection is essential when cutting tiles.
Wear ear protection if using a wet saw for cutting tiles.
Work boots protect your feet, while gloves protect your hands.
STEP 1: Measure the Area and Calculate TilesTo understand the amount of tiles, you need measure the length and width of the area you’re tiling.
Multiply the measurements together to find the total square metres.
For example:
3m x 2m = 6m²
We recommend you allow at least 10% extra tiles to allow for cuts, mistakes and future repairs. If you’re going to tile in a more complex pattern, you may need a little more.- STEP 2: Prepare the Surface
Good preparation is the secret to a successful tiling job. The surface should be:
* Clean
* Dry
* Flat
* Structurally sound
* Free from dust, grease and loose material
For Walls
Make sure that your plasterboard or cement sheeting is securely fixed and level. Fill any holes or imperfections before tiling.
For Floors
Inspect your floor carefully. Uneven floors can lead to cracked tiles and lippage (where tile edges sit at different heights).
You may need to –
* Fill low spots
* Grind down high spots
* Use a floor levelling compound
* Secure any loose floorboards
Preparation is key! Taking extra time and care during preparation will save a lot of headaches later. - STEP 3: Waterproof Wet Areas
If you’re tiling a bathroom, shower or laundry, waterproofing is essential.
Apply the recommended primer and waterproof membrane according to the manufacturer’s instructions.
Make sure all corners, joints and penetrations are properly sealed before tiling begins.
Never skip waterproofing in wet areas. It helps prevent costly water damage and mould problems down the track. - Step 4: Plan Your Tile Layout
Before mixing any adhesive, we recommend to dry lay a row of tiles to see how they’ll fit and you can plan for cuts beforehand.
Find the centre of the wall or floor and mark a centre line. This helps you:
* Keep the layout symmetrical
* Avoid awkward small cuts at edges
* Create a more professional finish
A few minutes spent planning can make a huge difference to the final result. You don’t want to rush this process and it has a huge impact on the final result. - Step 5: Apply Primer
Most surfaces benefit from priming before tiling. Primer helps:
* Improve adhesion
* Reduce moisture absorption
* Create a stronger bond
Allow the primer to dry fully before moving to the next step. - Step 6: Mix and Apply Tile Adhesive
Follow the manufacturer’s instructions when mixing adhesive.
Using a notched trowel:
* Spread adhesive over a small section. Work with small areas at a time.
* Hold the trowel at roughly a 45-degree angle.
* Create consistent grooves in the adhesive.
Avoid spreading too much adhesive at once, as it can start drying before tiles are installed. - Step 7: Lay the Tiles
Now the fun begins and you’ll start to see it come to life! Start from your centre line and work outwards.
For each tile:
* Press firmly into the adhesive.
* Twist back and forth slightly to create a strong bond.
* Insert tile spacers between tiles.
* Check alignment regularly using a spirit level.
Take your time and keep checking that rows remain straight. Again, don’t rush this process to ensure an even finish. - Step 8: Cut Tiles Around Edges and Obstacles
As you reach walls, corners, doorways or fixtures, you’ll need to cut tiles to size.
Measure carefully before cutting.
Remember the old DIY saying: “Measure twice, cut once.”
Use a tile cutter for straight cuts or a wet saw for larger and more complicated cuts.
Always wear safety gear when cutting tiles. - Step 9: Let the Adhesive Cure
Once all tiles are installed, resist the urge to walk on them or touch them, especially if you have tiled a floor.
Allow the adhesive to cure according to the manufacturer’s recommendations. In most cases, this is around 24 hours but check as it can be longer in cold weather.
This waiting period ensures the tiles bond properly to the surface. - Step 10: Apply Grout
After the adhesive has dried, remove all tile spacers.
Mix the grout according to the instructions.
Using a grout float:
* Spread grout diagonally across the tiles.
* Push grout firmly into every joint.
* Work in small sections at a time.
Once the grout begins to firm up, wipe excess grout away using a damp sponge.
Rinse the sponge regularly to avoid leaving grout on the tiles. - Step 11: Clean the Tiles
After the grout has partially cured, clean the tile surface thoroughly.
Use:
* A clean sponge
* Fresh water
* A soft cloth
Buff away any remaining grout haze on the tiles for a polished finish. - Step 12: Apply Silicone Sealant
Grout is not suitable for movement joints. Use colour matched silicone sealant in:
* Internal corners
* Floor-to-wall joints
* Around baths and showers
* Around vanities and benchtops
This helps prevent cracking and water penetration.
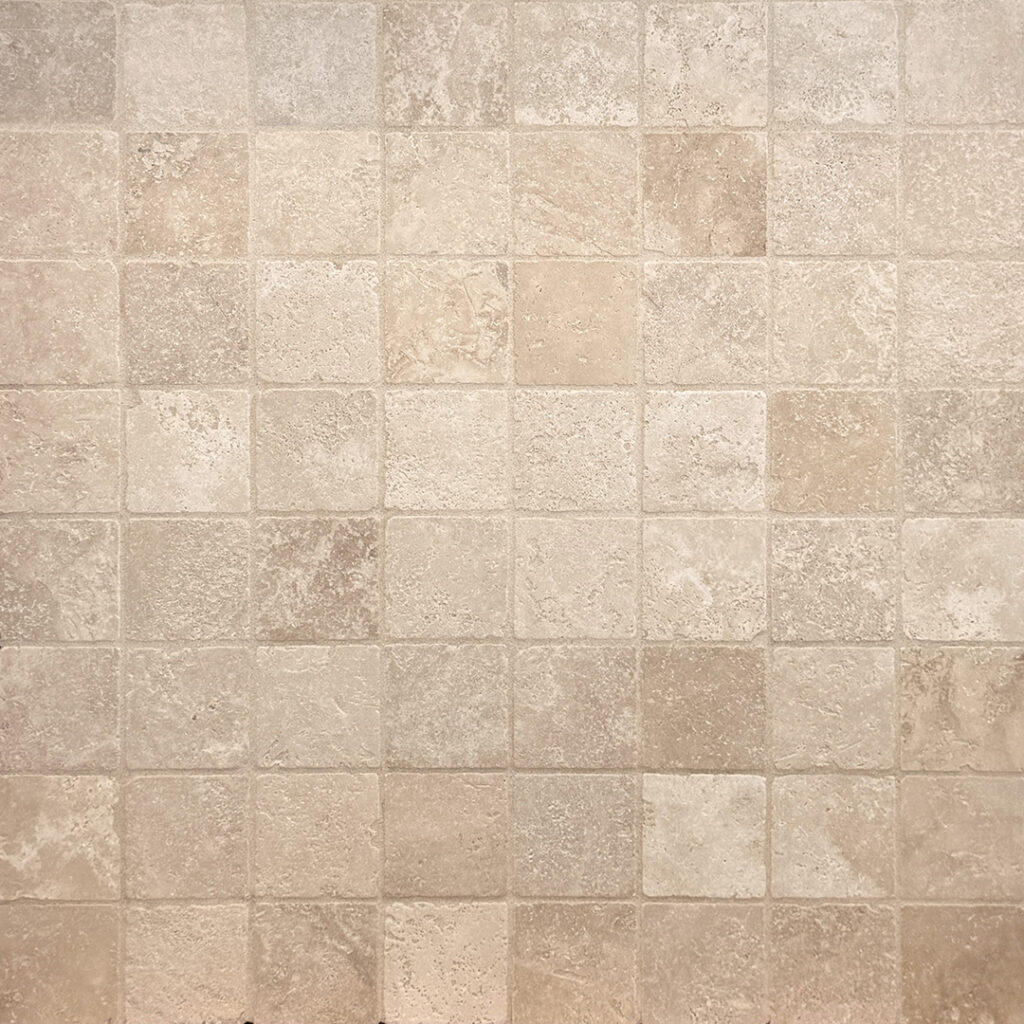
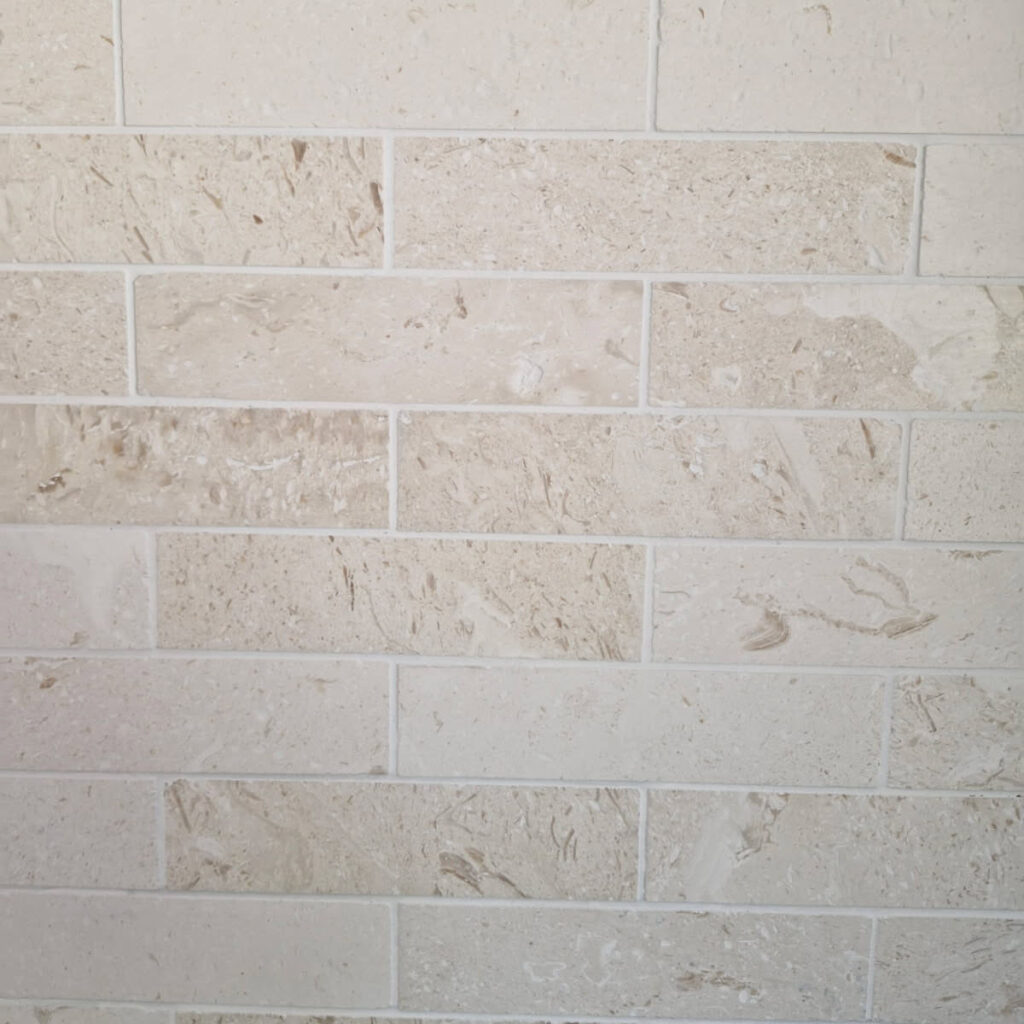
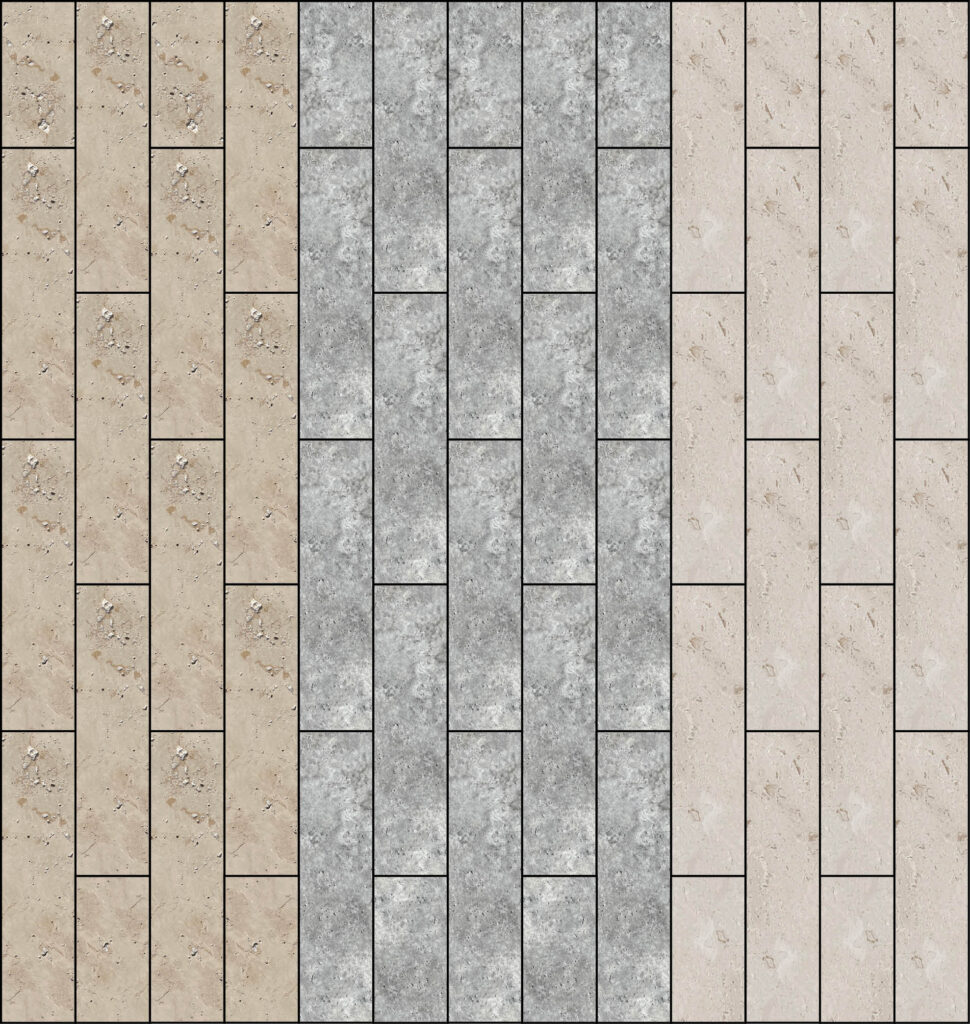
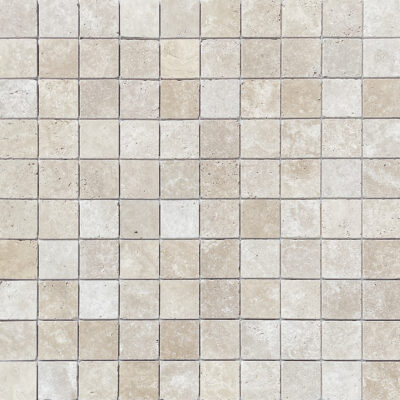
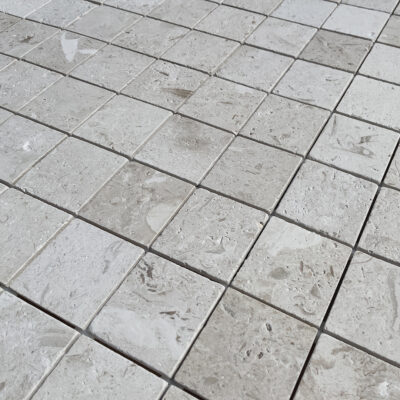
shop our new range of tiles


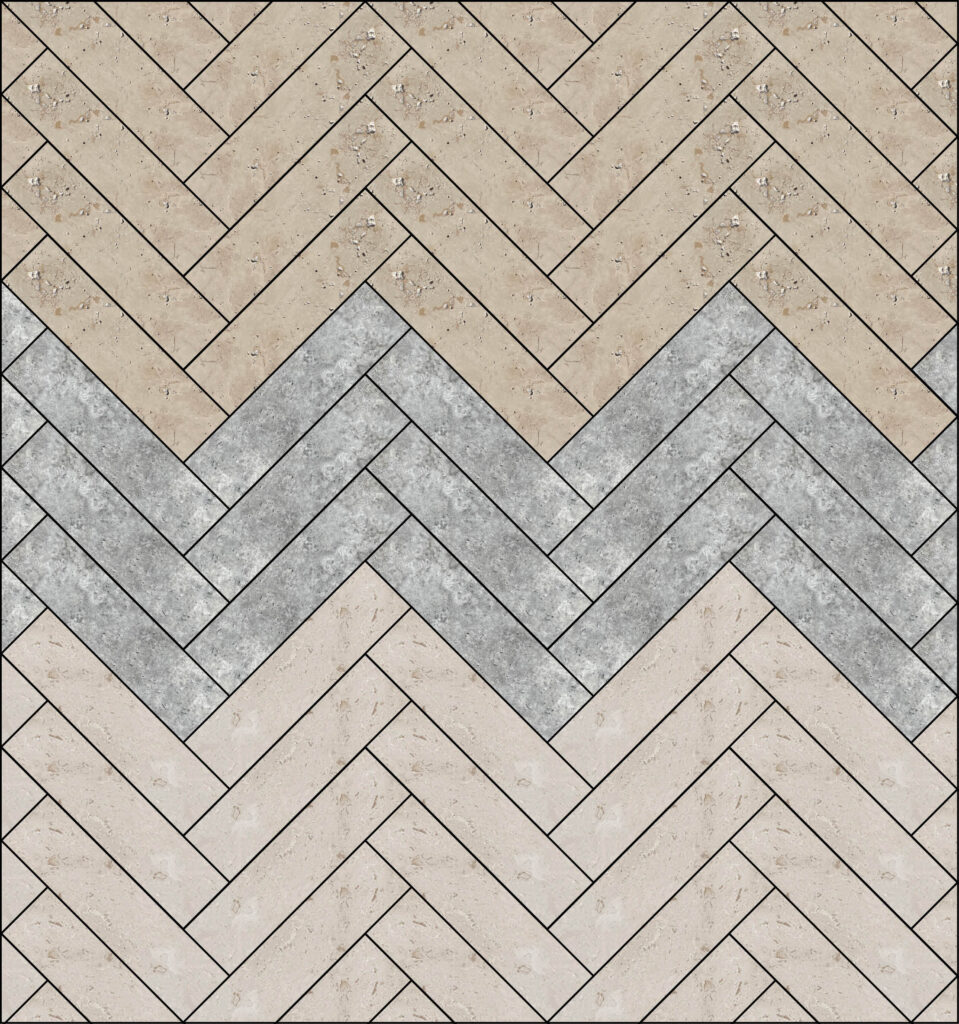
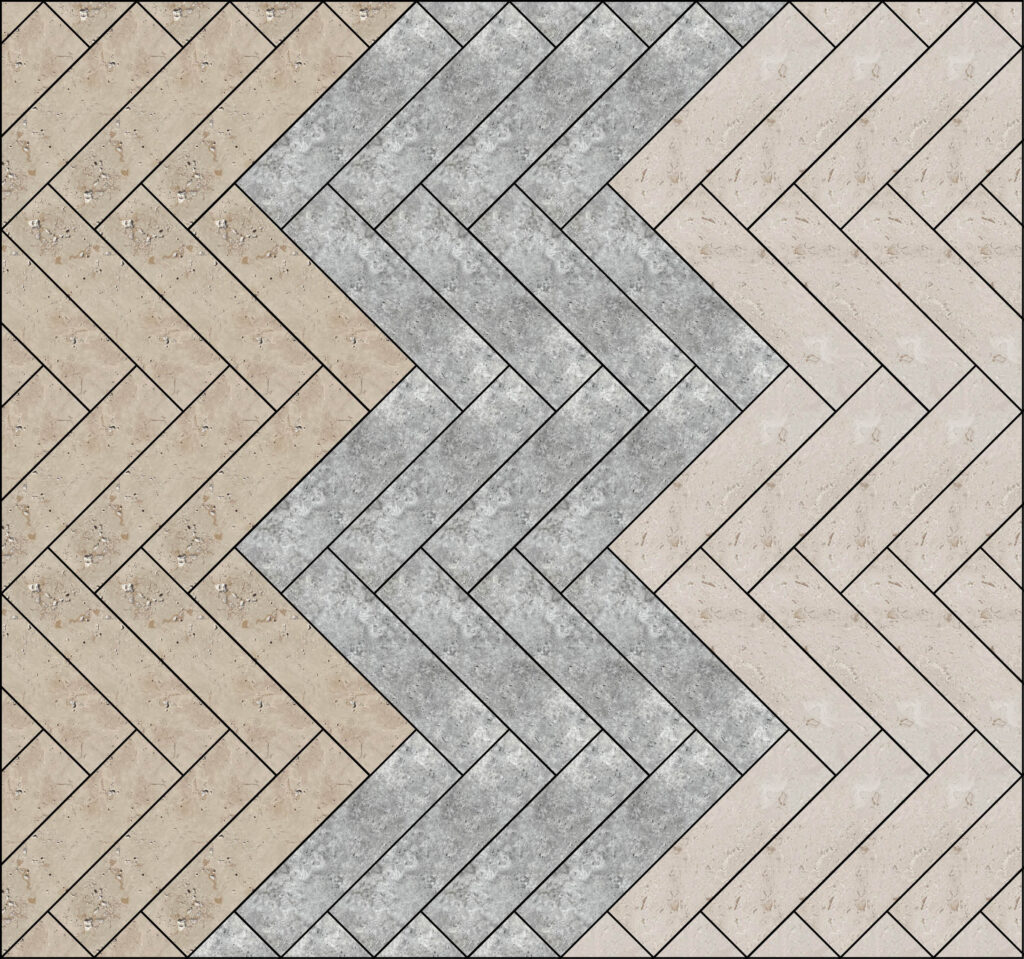
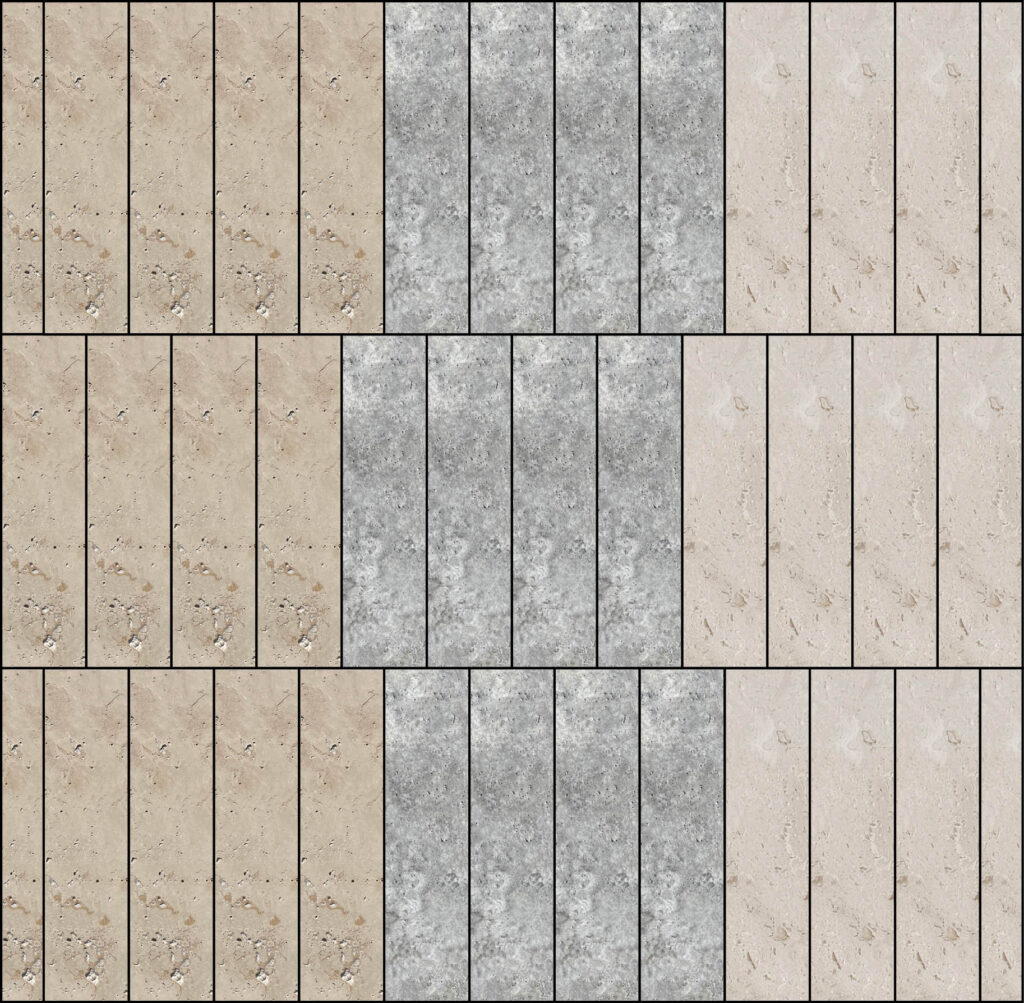
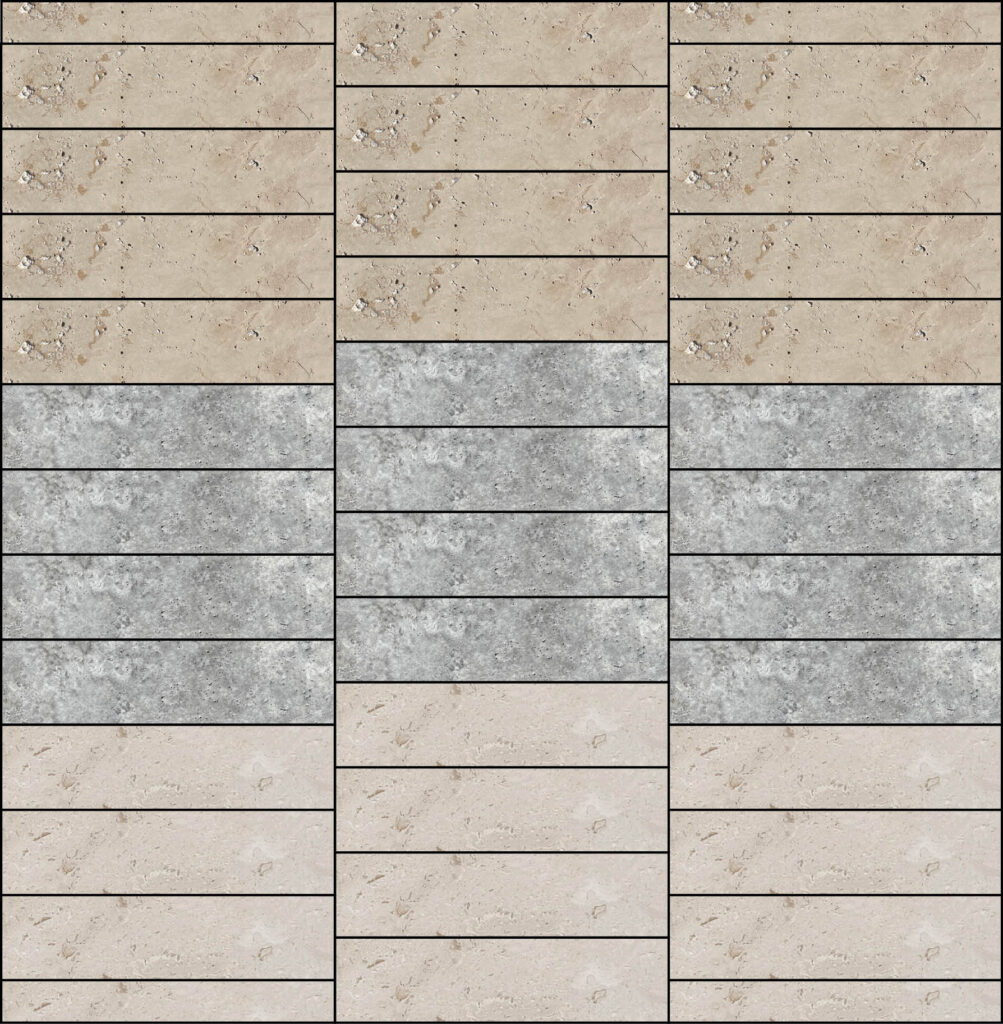
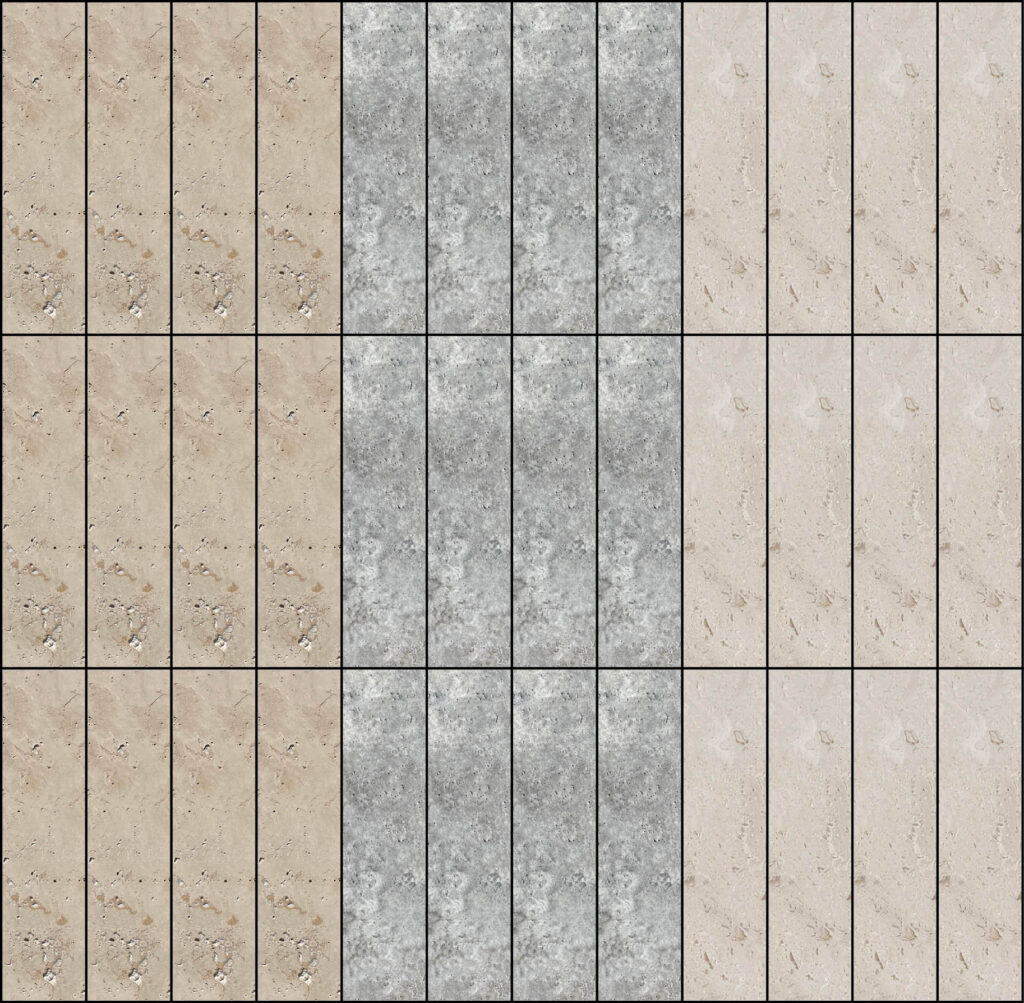
tiling patterns for our range of tiles

DIY TIPS AND COMMON MISTAKES TO AVOID
Skipping Surface Preparation
Poor preparation is one of the biggest causes of issues down the track.
Not Waterproofing Bathrooms
Waterproofing is critical in wet areas and should never be skipped.
Using Too Much Adhesive
Excess adhesive can create uneven tiles and messy joints.
Forgetting Tile Spacers
Spacers keep grout lines even and neat.
Rushing the Job
Allow adequate drying time between each stage.
Buying Exactly the Number of Tiles Needed
Always allow extra for cuts, breakages and future repairs.
Tips for a Professional Finish
- Mix tiles from multiple boxes to blend colour variations.
- Regularly check levels as you work.
- Keep grout joints consistent.
- Clean as you go.
- Order extra tiles from the same batch where possible.
DIY Tiling – Should I try it?
For small projects such as splashbacks, laundries and feature walls, DIY tiling can be a rewarding project that saves money. DIY tiling with smaller tiles can be much easier to work with for smaller spaces.
For larger bathrooms, large format tiles, waterproofing work or complex layouts, you may want to consider hiring a professional.
Learning how to tile isn’t as difficult as many people think. Success comes down to careful planning, proper preparation and patience.
Take your time, follow each step and you’ll be on your way to completing your tiling project. It can feel incredibly rewarding to complete DIY tiling. You can start with smaller spaces to gain some confidence before tackling larger or more complex tiling. At APC, we’re here to help you every step of the way!
Visit us at APC to pick up a free sample!
Or, send us a product enquiry or request a quote online